Installing paint protection film (PPF) isn’t simply about applying a transparent sheet—it’s an art that requires precision, patience, and the proper techniques. Whether you’re an experienced installer or a DIY enthusiast, knowing how to install PPF correctly is crucial. In today’s blog post, we will explore the world of PPF installation and break down the steps that distinguish professionals from beginners.
Preparation: the foundation

How to install PPF
Every masterpiece starts with preparation, and PPF installation is no different. Before applying any film, ensure the surface is impeccably clean. Dust, dirt, or oil can ruin the adhesion, leaving your finish looking less like a showroom car and more like a wrinkled art project.
- Wash and decontaminate: Begin by thoroughly washing the car using a pH-balanced car shampoo. Then, follow this with a clay bar treatment to remove any embedded contaminants.
- Inspect the surface: Look for chips or scratches. PPF doesn’t cover imperfections; it preserves them. If necessary, consider using a paint correction service to create a smooth canvas.
- Degrease: Wipe down the surface with isopropyl alcohol to remove any residual grease or wax. This step ensures the PPF adheres perfectly.
Read more: Apeax Automotive Films: The Gold Standard for Global Paint Protection and Window Tint
The techniques: where skill meets precision
So, how do you install PPF like a pro? It all boils down to patience and following a tried-and-tested process:
- Cutting the film: Use a precision cutter or a pre-cut PPF kit to ensure the film matches the vehicle’s contours. Trust us, your scissors from the kitchen drawer won’t cut it—literally.
- Use the wet method: Most PPF installations rely on the wet method, which involves spraying a mixture of water and baby shampoo (or a specialized slip solution) onto both the surface and the adhesive side of the film. This approach allows you to effortlessly maneuver the PPF into the perfect position before attaching it.
- Align like a perfectionist: Once the PPF is on the car, align it carefully to avoid gaps or uneven edges. Use the car’s natural body lines as your guide.
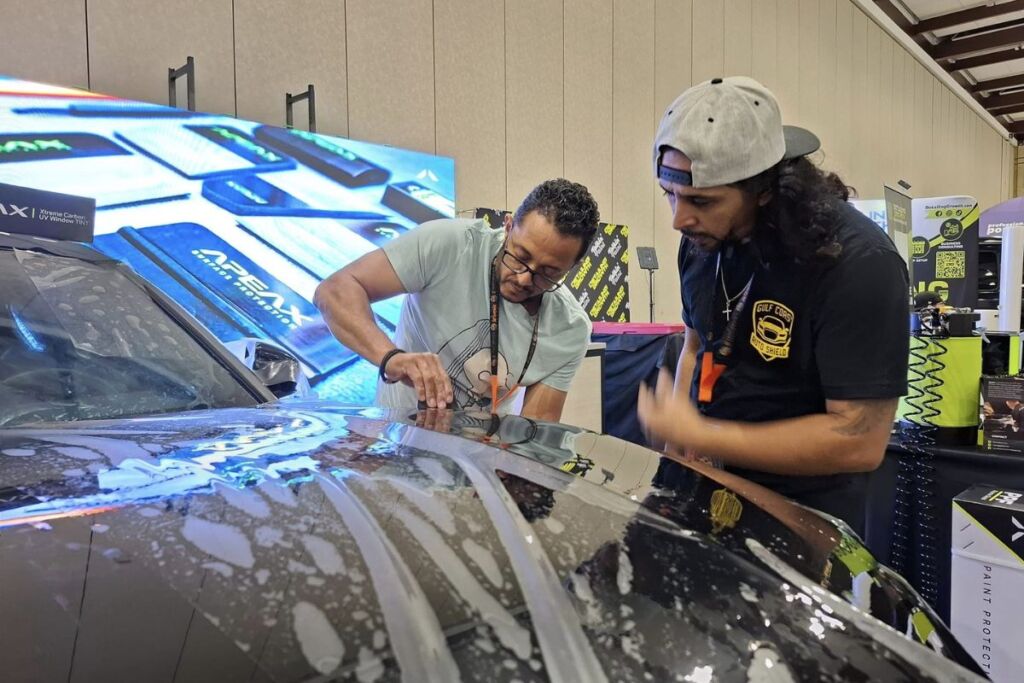
- Squeegee with care: Starting from the center, use a soft squeegee to push out the slip solution and eliminate air bubbles. Work outwardly in smooth, even strokes. Keep a microfiber towel handy to wipe away excess solution.
- Tuck and trim: For a professional finish, tuck the edges of the PPF under the car’s panels where possible. Use a precision knife to trim any excess film—steady hands are a must here!
- Cure and inspect: Allow the PPF to cure for 24-48 hours. Avoid washing the car or exposing it to heavy rain during this time. After curing, inspect for any trapped bubbles and smooth them out.
Common mistakes to avoid
- Rushing the prep work: Skipping proper cleaning is the fastest way to ruin a PPF installation.
- Overstretching the film: While PPF is flexible, overstretching can distort the material and affect its durability.
- Ignoring dust: Even the tiniest speck of dust can leave a noticeable bump. Work in a clean, well-lit environment to minimize contamination.
- Using the wrong tools: A cheap squeegee or dull blade can leave scratches or jagged edges—invest in quality tools.
Why professional installation might be your best bet

PPF Installation
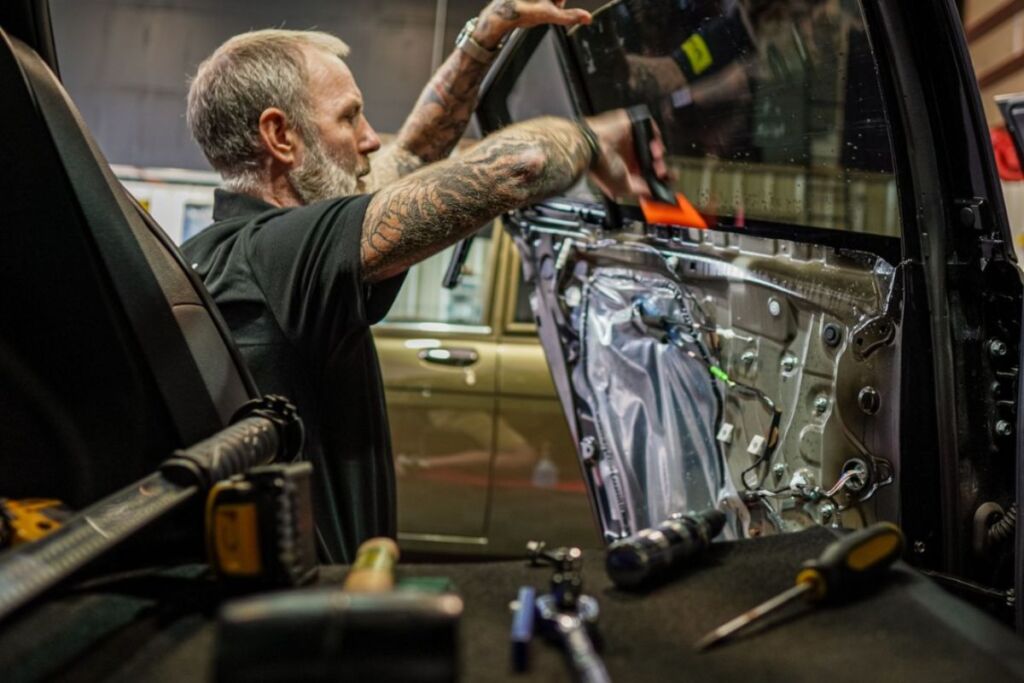
While the DIY route can be satisfying, PPF installation is no walk in the park. The precision required often makes professional installation worth every penny. Professionals have the expertise, tools, and experience to get it right the first time.
Read more: TOP REASONS TO CHOOSE APEAX XTREME CERAMIC TINT IN 2024
Upgrade your protection with Apeax PPF
Ready to give your car the ultimate shield? Enter Apeax, the new generation of PPF providers that’s redefining paint protection. With cutting-edge technology, superior clarity, and unmatched durability, Apeax PPF ensures your car gets the best protection on the market.
Visit apeax.com to explore our range of high-performance PPFs and find out why we’re the talk of the town. Protect your ride with Apeax, the shield your car needs.


